A few months ago my aunt gave me her old Commodore 64 that had been sitting in the attic for over 30 years. It was covered with a layer of dust and grime which needed a lot of toilet paper to remove.
I wasn’t able to try and get it working at the time because I had exams, but now that they are over I’ve had a chance to work on it.
I started by checking that the power supply was still working correctly – I didn’t want to fry the computer before starting. Luckily it was outputting the correct DC and AC voltages. Next I opened up the computer and cleared out all of the dust with cotton buds and some isopropyl alcohol. The next step was to connect a TV to the RF output and power it up!
Although the power LED came on, nothing seemed to happen. At first I thought the TV might be tuned to the incorrect channel or frequency, but the fact it changed from ‘NO SIGNAL’ to pure black whenever the computer turned on disproved this.
After reading online I found that there were a large number of things that could cause a black screen, but one of them was a failed SID (Sound Interface Device) chip. Since this was the only socketed chip on the motherboard I decided to try removing it first since it was the easiest to take out. Luckily this was the chip that had failed!
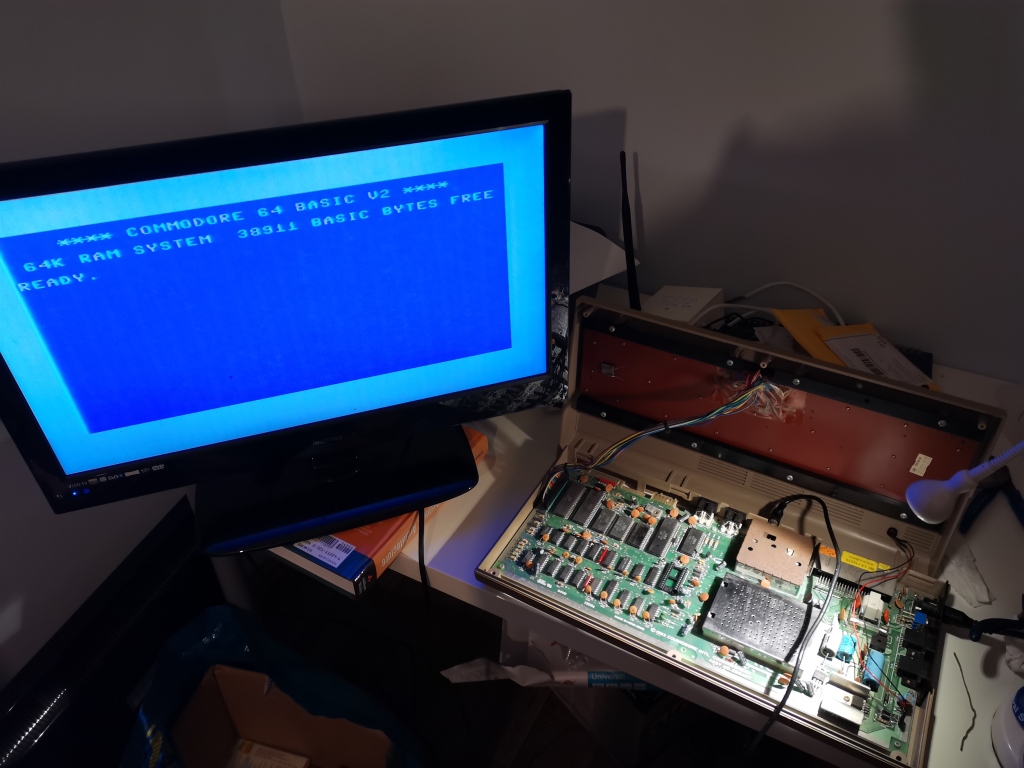
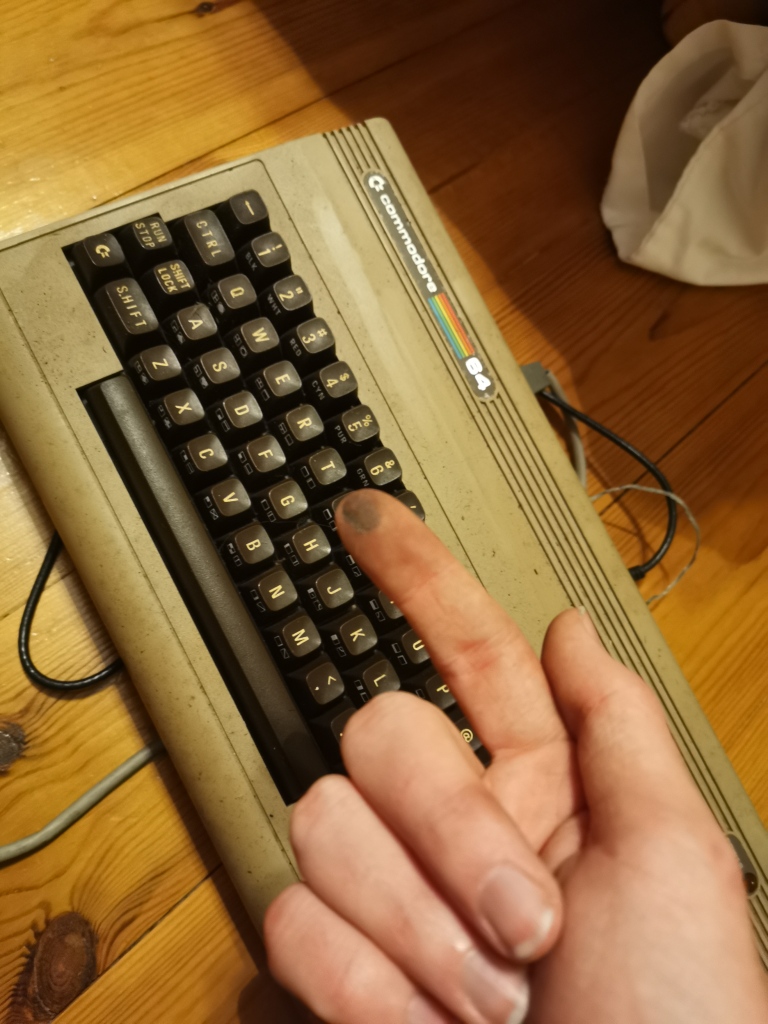
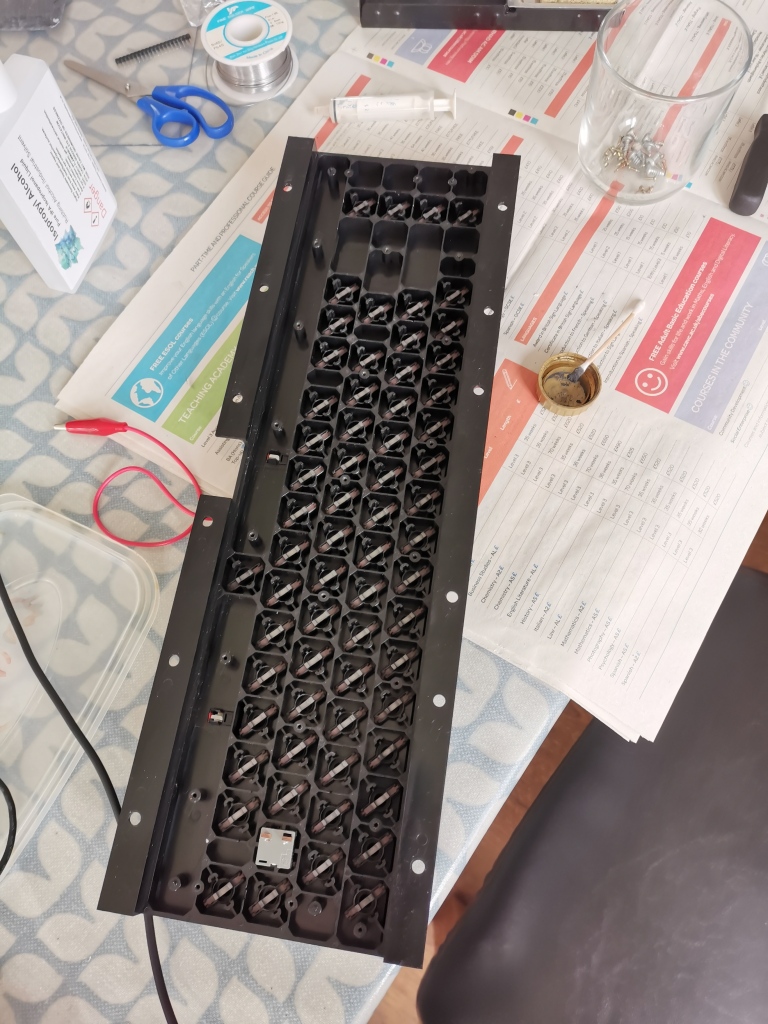
The commodore now booted up and showed the BASIC startup screen. I went to type in “PRINT” but discovered that less than half of the keys worked, making the computer unusable. After doing some more reading online I decided to clean the PCB of the keyboard where the contacts press down with isopropyl alcohol. However, after doing this I discovered that fewer keys worked than before!
My next move was to build a simple tester as detailed in this video. The keyboard is set up as a matrix, with each key connecting a row and a column when pressed. The computer cycles through setting a voltage on each row and finding which columns then also have a voltage on them to discover which keys are pressed. The tester works by shorting together all of the pins on the connector corresponding to columns and all of the pins corresponding to rows. The two chunks are then connected to an ohmmeter, which should read 0 whenever any key is pressed. This was much easier than having to connect the keyboard back to the motherboard every time I wanted to test it.
I found that all of the working keys gave a resistance of less than 10kΩ when pressed, but the broken ones gave a higher reading. To solve this I tried adding more graphite to the contacts on the keys by making powdered graphite from a pencil, mixing it with isopropyl alcohol then spreading the resulting sludge on the contacts with a cotton bud as shown in the video. I also cleaned the PCB more thoroughly, wiping the isopropyl alcohol away with paper towels instead of letting it evaporate and leave any residue. Once I did this I found that all of the keys worked!
Now I could write and run BASIC programs but I couldn’t save or load them. My aunt also had a C2N datasette. I cleaned all of the dust and mess from inside with isopropyl alcohol and cotton buds and connected it to the computer. The motor seemed to be working when I pressed play.
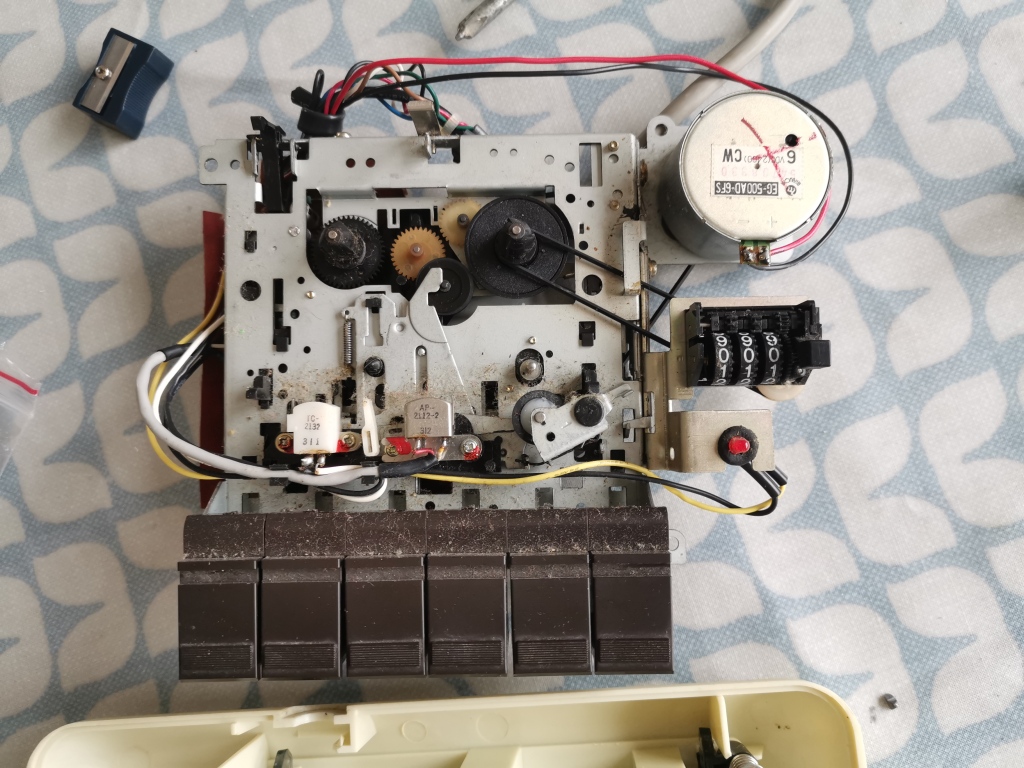
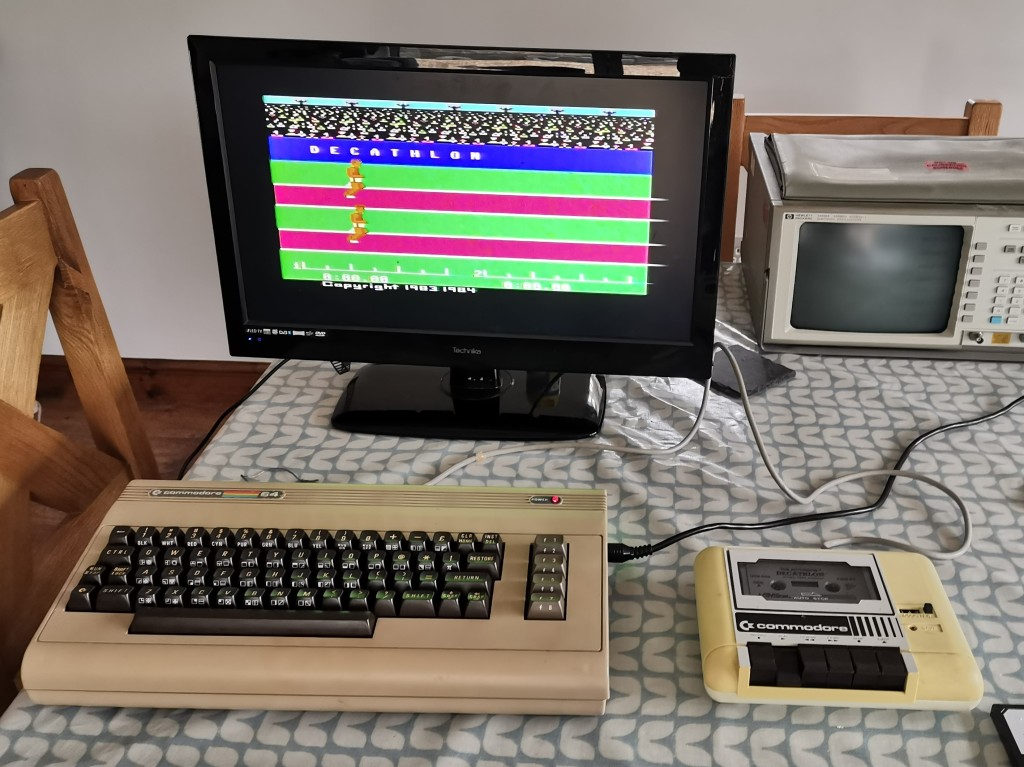
I tried loading a casette of Decathalon. As I typed “LOAD” I wasn’t very optimistic because I expected the datasette to need more work than just cleaning and the tape had been sitting in the open for over 30 years, but to my surprise the computer found Decathlon and started to load it. A while later, the start screen of the game appeared! Unfortunately I can’t play it without a joystick.
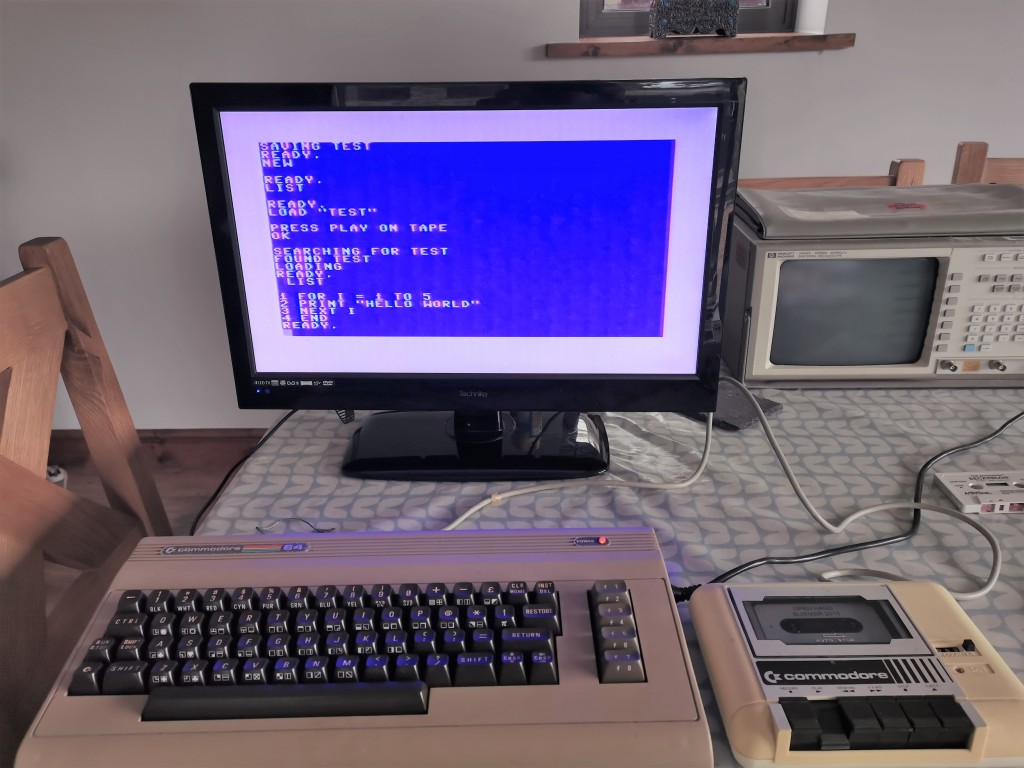
I also tried saving and loading a test program with another casette and again it worked perfectly!
I’m very pleased that I’ve managed to get the ~40 year old computer back to life. Next I’d like to replace the SID chip so that it can output sound again, but the original chip has been out of production for a long time and is highly sought after for synthesisers. However, there are modern microcontroller-based replacements which are likely to be a better option.
